


Skyrim Mysterious Breeding Room


Your perfect busty eporn Read about The Mysterious Breeding Rooms by SKYRIM ADULT MODS #12 and see the artwork, lyrics and similar artists. bookshack.com.au › sharedfiles › filedetails. It is VERY short for now (but still complete and usable), mostly a proof of concept that I can expand later, especially if more tentacles related resources are. Tentacles everywhere and in every hole! All the females are trapped in the mysterious breeding room. Skyrim Mods Featured: Tentacles Nightmare. If you have mods that restore bethesda cut content, you should know that there are missing apprentices in the winterhold college who met a.


.


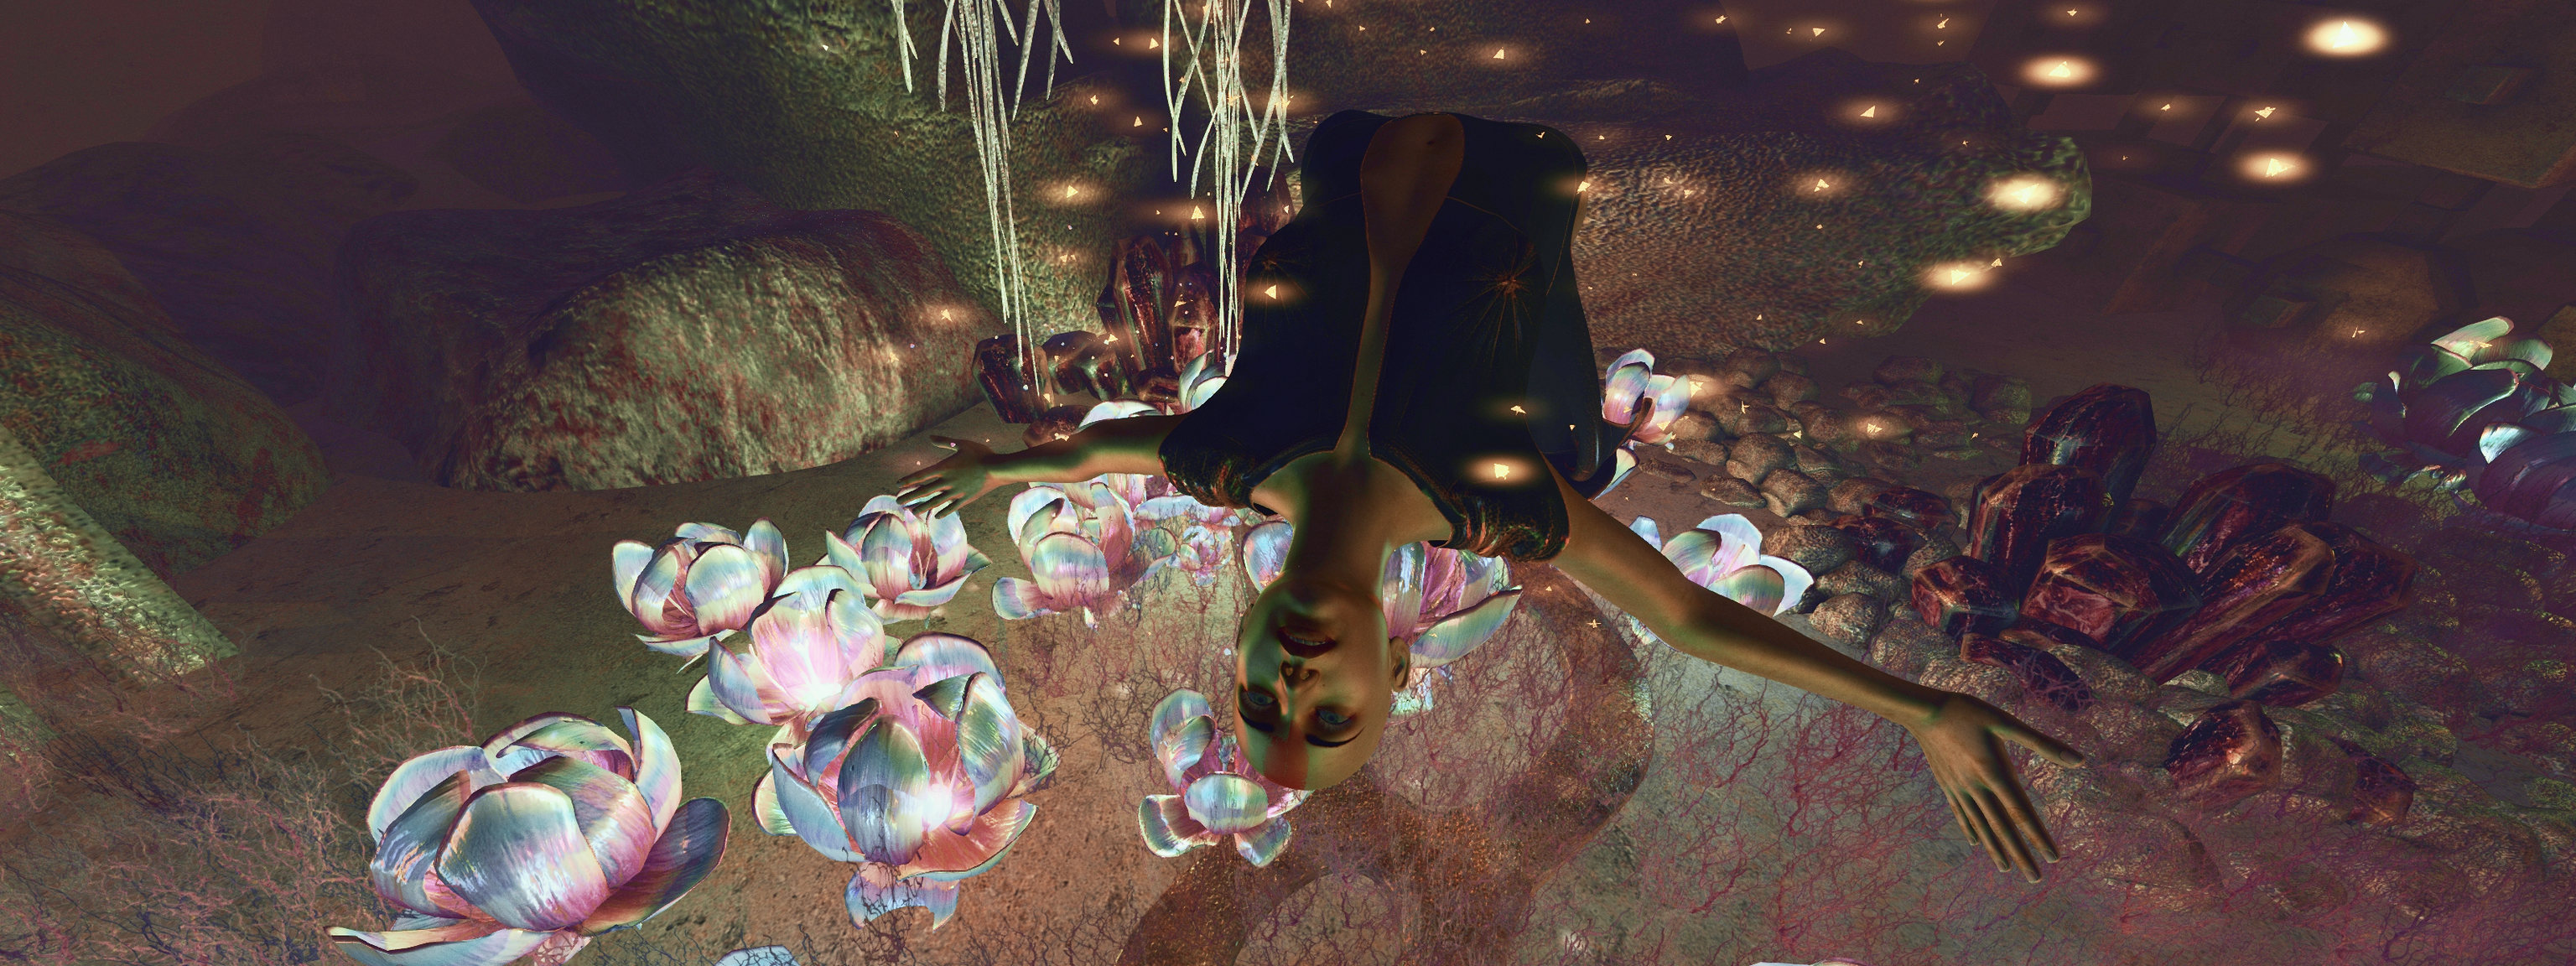
The Mysterious Breeding Rooms SE Voiced - Lovers Lab Skyrim SE RSS Feed - Schaken-Mods .

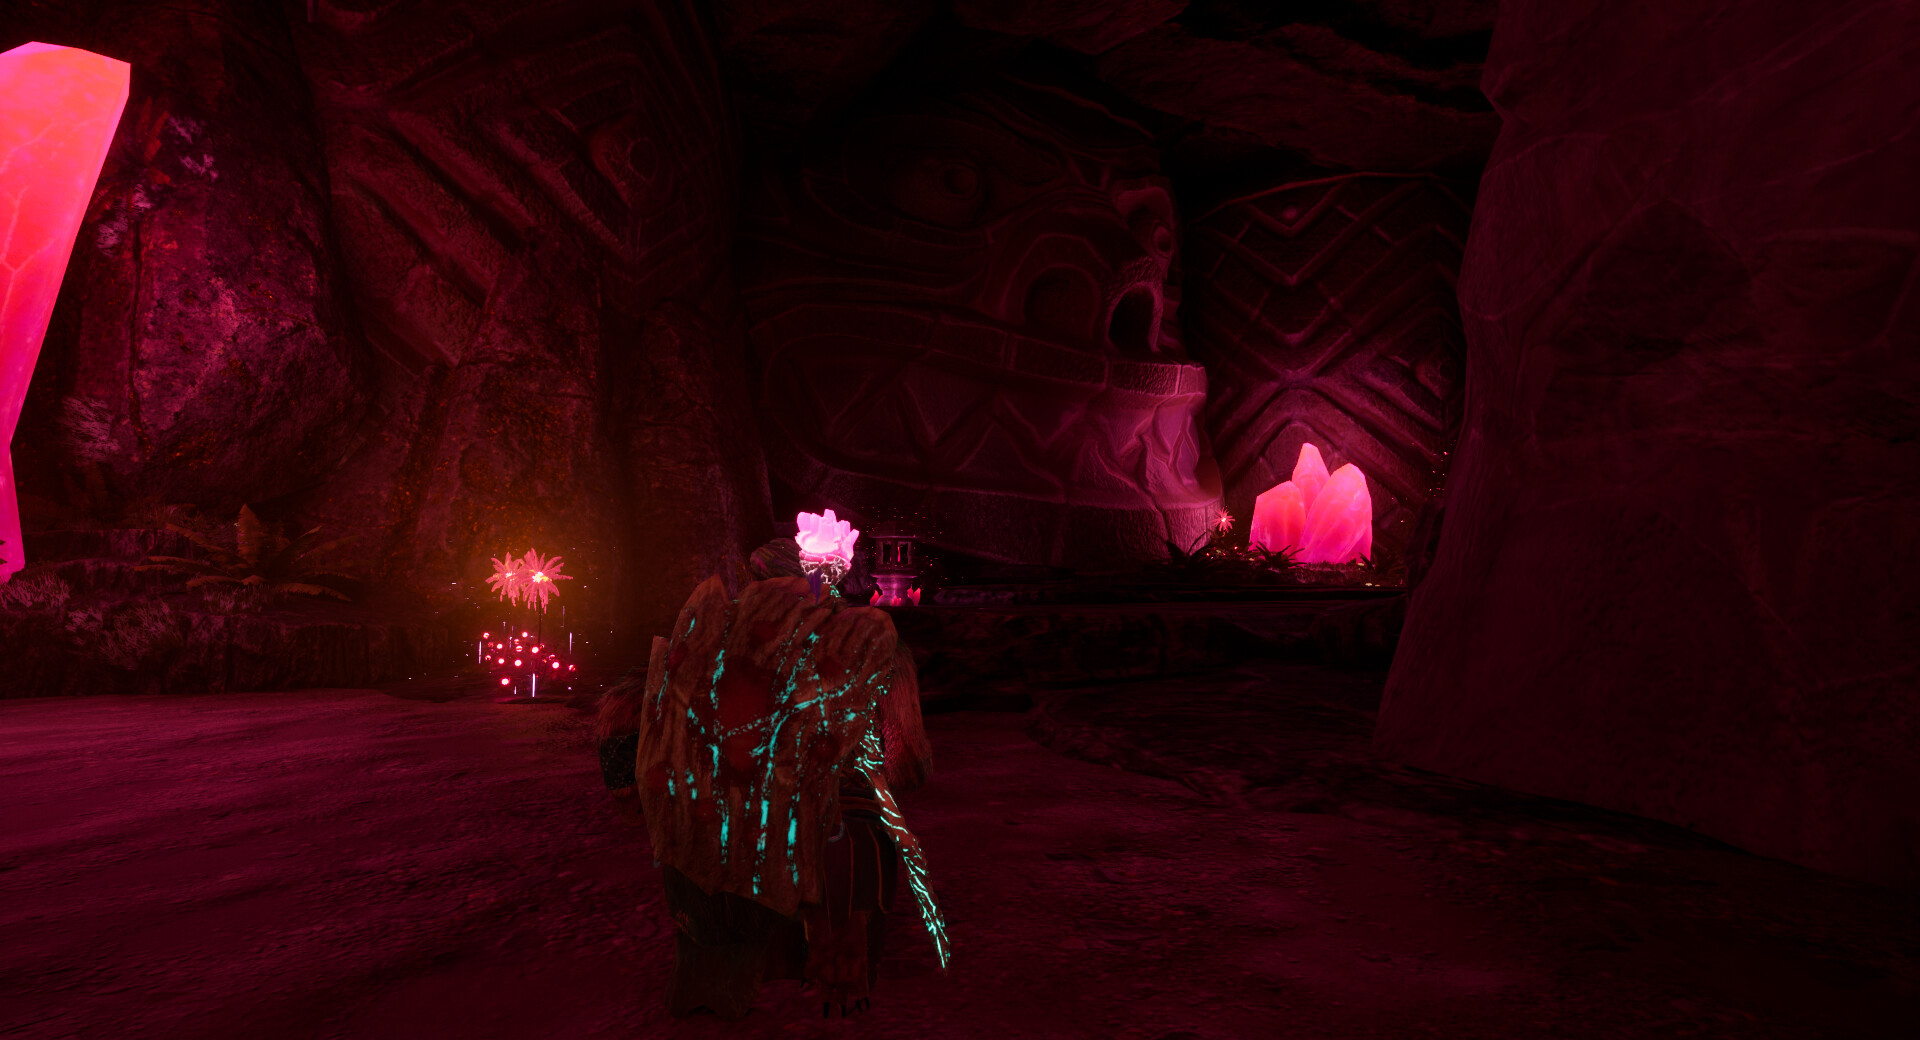
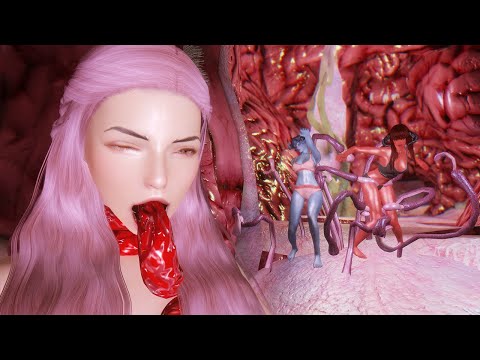
Would love a trib like this right now of augusta. The Mysterious Breeding Rooms || Skyrim Mods || Only For Adults 18+ Comp bookshack.com.au via @YouTube. Skyrim Mods Weekly Playlist: https SKYRIM MODS #12 - The Mysterious Rooms. M views · 4 years ago. Tentacles everywhere and in every hole! All the females are trapped in the mysterious breeding room. Skyrim Mods Featured: Tentacles Nightmare. If you have mods that restore bethesda cut content, you should know that there are missing apprentices in the winterhold college who met a. The Mysterious Breeding Rooms SE Voiced I did NOT create this mod, I merely repack aravis7 mod and Nomkaz's conversation for Skyrim Special.


Treat me like this free movies.


Description: Reverse cowgirl creampie compilation hope august, This would be one fine party to attend.


User Comments 1
Post a comment
Comment: